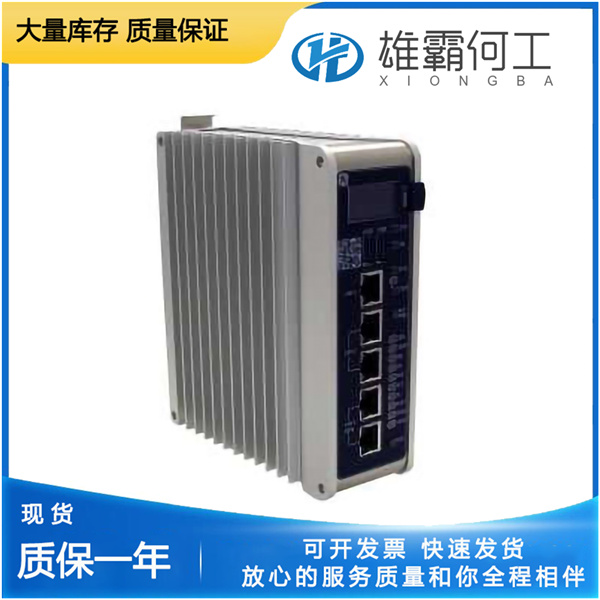
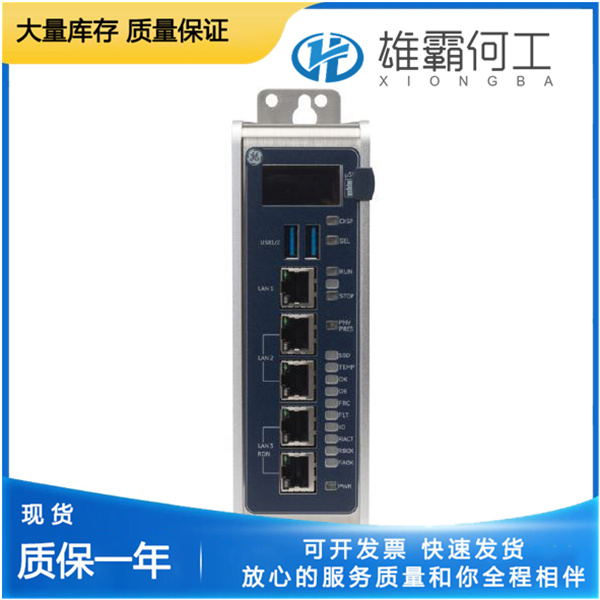
- The 24Vdc power input connector is located on the underside of the CPE400, as shown in Figure 8. The signal pinouts are also indicated.
- Mating Connector Requirement: The mating connector for the CPE400 24Vdc power input is the 3-pin Phoenix 1827716 (see Figure 9). The user-prepared power supply cable must use this specified connector.
- Signal Requirements:
- Mandatory: Positive “+” and negative “-” signals.
- Optional (but recommended): FGND (Frame Ground).
- Wiring & Torque Specifications:
- Compatible conductor size: 24AWG to 16AWG.
- Wire stripping length: Strip wires back 7mm before inserting into the connector.
- Screw tightening torque: 2.2 in-Ibs (0.248Nm) for the three signal screws.
- Securing the connector: Fasten the mating connector to the power input connector using the two provided captive screws.
The user-supplied SELV² (Safety Extra-Low Voltage) power supply must meet the following voltage range: 18Vdc to 30Vdc.
- Automatic Boot: Once the power supply cable (or compatible Energy Pack ACC403) is connected to the CPE400 and the power supply is turned on, the unit will start booting automatically (no button press required).
- Built-In Protection:
- Reverse polarity protection: If “+” and “-” are swapped, the unit will not power up.
- Short-circuit warning: Connecting “+” to FGND will cause a short circuit. The power supply must be capable of protecting itself against this condition.
- Connect a computer to the EFA’s (Embedded Field Agent) IICS Cloud Port or EFA Port.
- Configure the computer’s network adapter to an IP address on the Field Agent network:
- Default settings for EFA’s IICS Cloud Port/EFA Port: IP address = 172.31.0.100; Subnet mask = 255.255.0.0.
- Set the computer’s network adapter to any other IP address in the 172.31.x.x range (e.g., IP = 172.31.0.101; Subnet mask = 255.255.0.0).
Use the OLED Menu to enable Configuration Mode, following these steps:
a. From the Main Menu, select “FA Settings”.
b. From the FA Settings Menu, select “Commands”.
c. From the Commands Menu, select “Config Mode”.
d. Confirm entry into Config Mode.
e. Duration of Configuration Mode: Remains active for 1 hour, or until disabled by repeating the above steps.

